April 2026
QUILTING A COUPLE OF SMALL PROJECTS
AND DEALING WITH THE RESULTING HANGING THREADS
Wow, it is April 2026 already! This month has plenty to look forward to, including Passover, Good Friday, Easter Sunday, and Earth Day. Here locally, I am really looking forward to the Highland Tea that our Donna Karbach has organized. After the tea, we get to Zoom with Diana Gabaldon, my very favorite author. I can hardly wait! I already have my new hat and dress for the occasion. Pinkies up!
As I was looking at days we celebrate in the month of April, I found a plethora of days listed to celebrate a variety of different things. Here are some for your perusal: April 2 - National Peanut Butter and Jelly Day, April 6 - California Poppy Day, April 7 - No Housework Day, April 14 - Look Up at the Sky Day, and April 25 - World Penguin Day. There is even a Rubber Eraser day and Caramel Popcorn day. Who knew?
This month's tidbit deals with quilting small projects on your home sewing machine. I tend to rely on gifted quilters for my larger quilts but the small stuff I try to quilt myself at home on my Juki. I love to piece my quilt tops, especially if there is a bird, animal, or butterfly involved. This month, I am quilting a butterfly pillow and a cardinal wall hanging. I am still working on a hearts and birds buffet runner, but it is not quite ready to quilt.
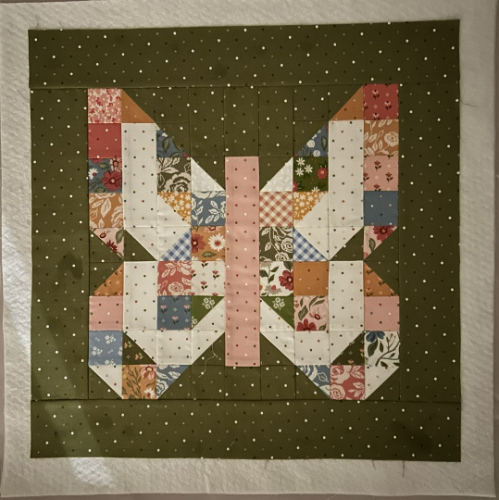
Here is the butterfly pillow top sandwiched and ready to quilt. I used a basting spray to keep all three layers together.
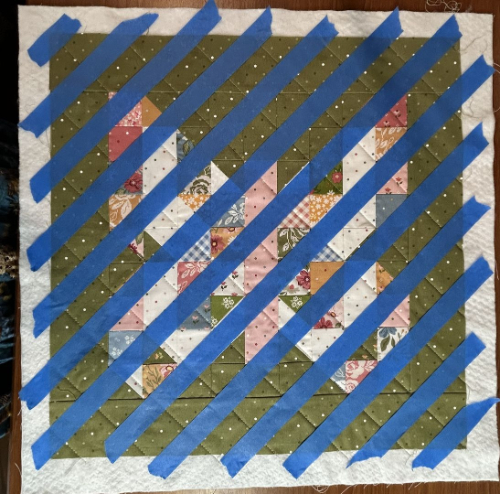
I decided to quilt edge-to-edge on the diagonal with celery green thread. I used blue painters' tape to guide my stitching lines. Here is a picture of the top all taped up for the second pass. I forgot to take a picture of the first go round. To keep the tape straight as I lay it out on the quilt top, I use the straight edge of an acrylic template as a guide. After you stitch, you simply remove the blue tape.
One of the perks of edge-to-edge quilting is that the beginning and end of each stitch line will be finished inside the seam of the pillow in this case, or within the binding of a finished quilt. No fussing with hanging threads.
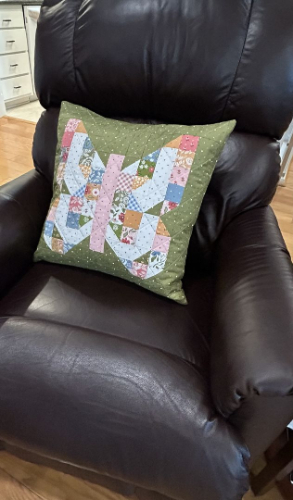
And here is a picture of the final completed pillow. As soon as it was finished, I put it to use in my Lazy Girl recliner, and it is very comfortable.
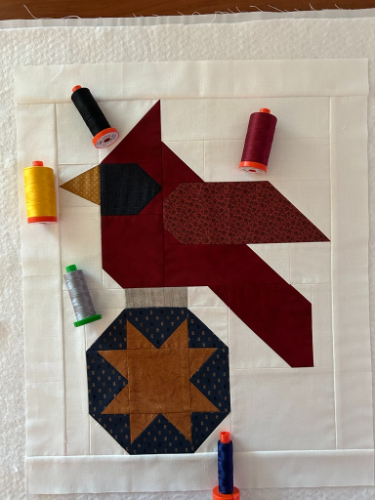
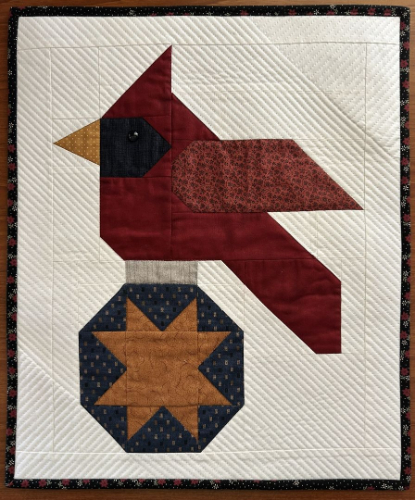
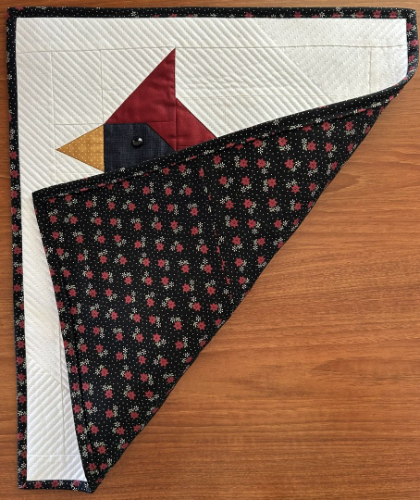
The second small project I quilted is a pieced cardinal sitting atop a pieced Christmas ornament. This will be a small wall hanging to add to my Christmas decor.
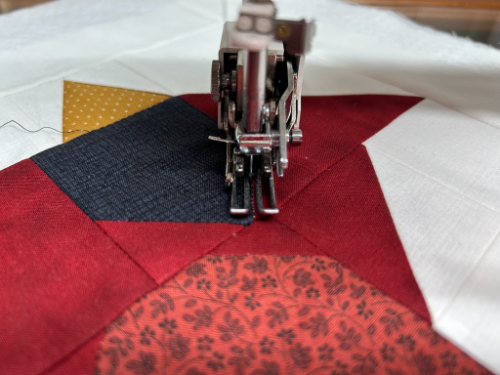
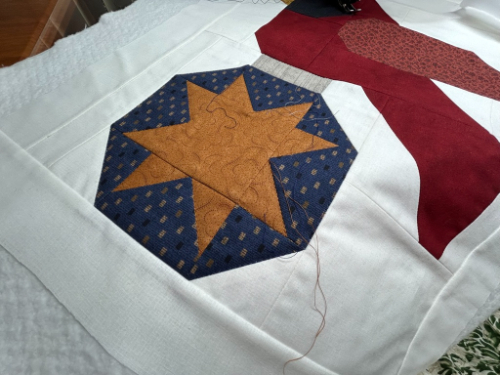
I decided to stitch in the ditch around the beak, the black around the eye, the red print wing, the red bird body, the gray at the top of the ornament, the gold star, and the blue ornament. This picture shows my first picks for the thread. I later found gold thread that worked much better for the beak and the star.
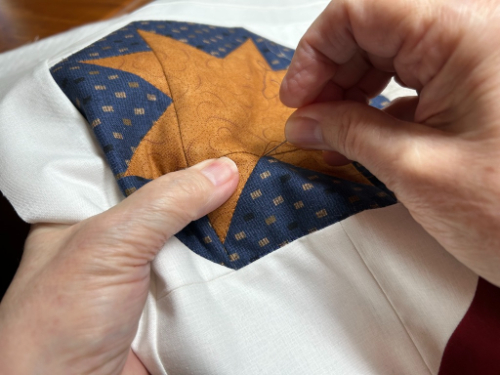
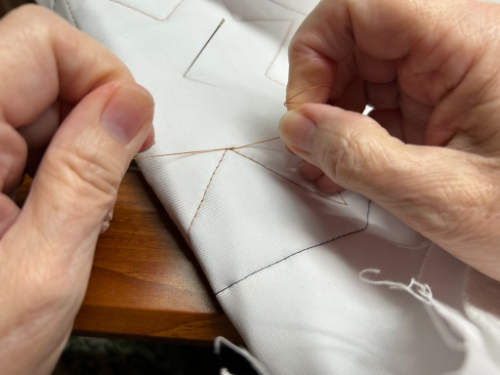
Before I quilt around an object, I use my finger to trace the direction I will stitch and plan out the beginning and end of each stitch line. I leave a 5-inch tail of thread at the beginning and end on this type of quilting.
I use a self-threading needle to poke the hanging thread through the front of the quilt which takes the thread from the front to the back of the quilt.
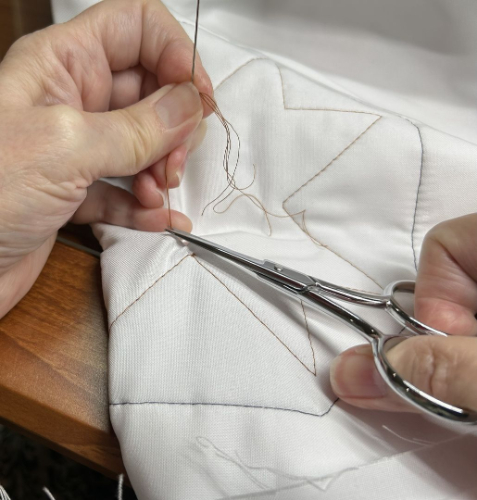
The top thread and bobbin thread are then tied into a knot...
...and I use the same needle to hide the threads within the quilt to give a nice, finished look.
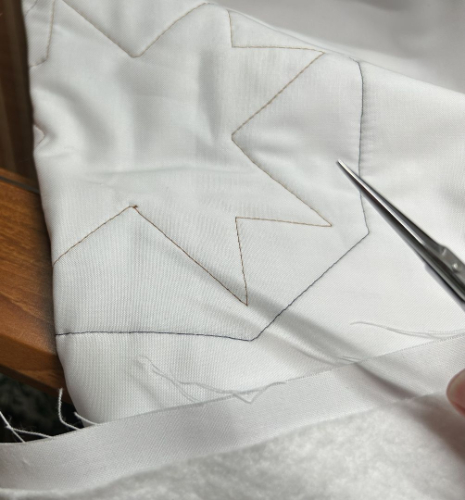
After I quilted all the items in my stitch-in-the-ditch plan, I realized I had a great deal of white space in my background that I still needed to quilt. So, I decided to quilt on the diagonal in fairly close white stitch lines across the white areas. This plan meant starting and stopping at the bird and the ornament and then stitching all the way across the borders.
After quilting the white area, I had so many threads to hide, I decided to just tie off each set of threads instead of hiding them. I chose to add a dark backing to the quilt to hide the tied-off threads. That way, I no longer had to keep the white backing pristine. You know how it goes, best laid plans and all that. I added a hanging sleeve on the back, glued on a black shiny button eye, and now the quilt wall hanging is ready for Christmas. Here is the finished product and I am very happy with the results.
Tata for now. If I get some inspiration on another topic, I hope to be back with a tidbit in May. Otherwise, I hope to be back again in June. Have a wonderful spring. Blessings to you and your family.
 Turn On/Off Automatic Slide Show (Forward Direction)
 Turn On/Off Automatic Slide Show (Reverse Direction)